

To caulk around a kitchen sink, first clean the area and then apply a silicone-based caulk with a caulking gun. Ensure the surface is dry and free of old caulk for a good seal.
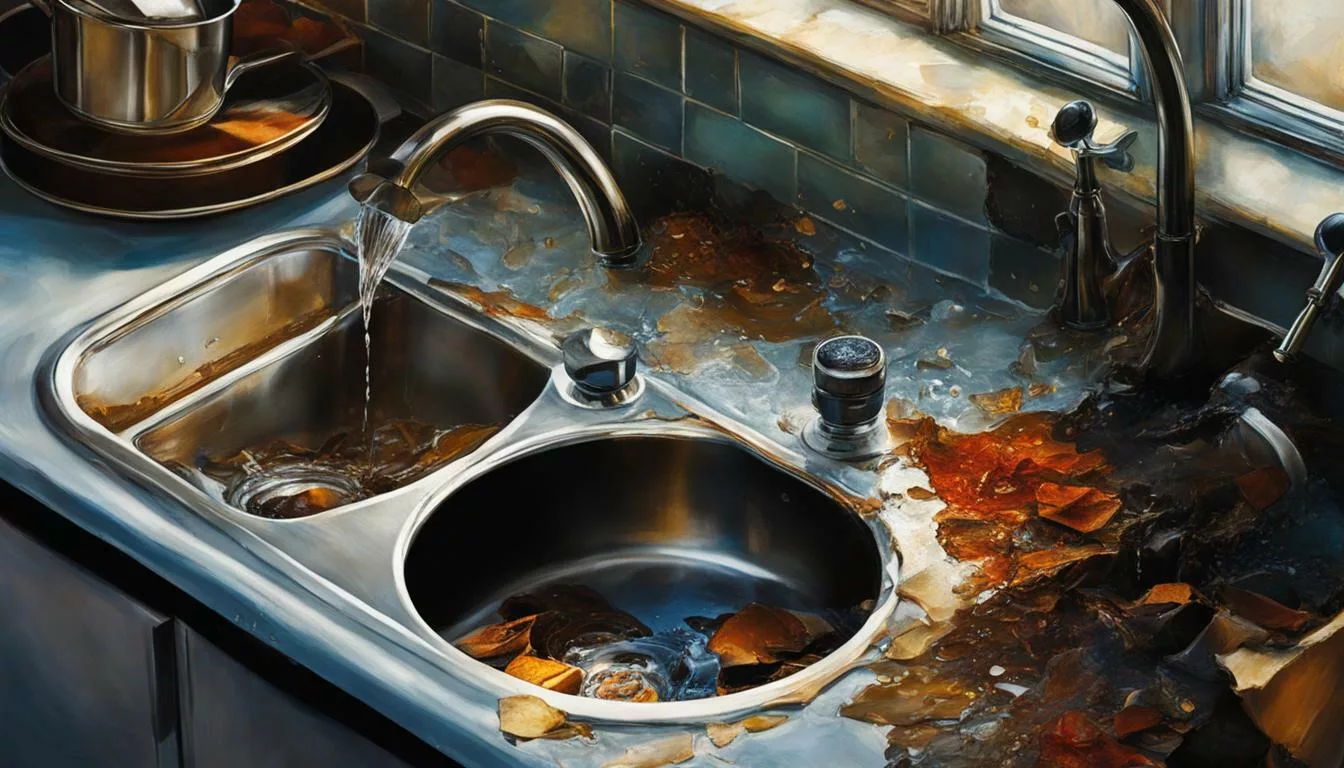
Caulking around a kitchen sink is a simple yet crucial task to prevent water damage to your countertops and under-sink cabinetry. Over time, old caulk can wear, shrink, or mold, leading to potential leaks that can cause costly damage to your kitchen.
By reapplying caulk, you protect the integrity of your sink and surrounding areas while also giving your kitchen a refreshed look. This beginner-friendly task requires minimal tools and can make a noticeable difference in maintaining the hygiene and durability of your sink area. Remember to select a caulk that’s specifically designed for use in kitchens to combat moisture and adhere to surfaces like granite, laminate, or stainless steel.

Credit: www.facebook.com
Seal Of Protection: The Importance Of Caulking Your Kitchen Sink
Caulking your kitchen sink is not just a minor detail—it’s a crucial step in kitchen maintenance. The right sealant keeps water where it belongs, avoiding unseen damages that can be costly. Think of caulking as a protective barrier that combats moisture problems and ensures your sink remains a functional centerpiece in your kitchen.
Preventing Water Damage And Mold Growth
Water damage and mold are kitchen culprits that can sneak up without a proper seal. Caulking prevents water from seeping into the gaps between the sink and countertop. Here’s why sealing is vital:
- Prevents water seepage that can degrade internal structures.
- Avoids costly repairs by keeping water out of unwanted places.
- Stops mold and mildew growth, promoting a healthy kitchen environment.
Enhancing Sink Appearance And Functionality
A well-caulked sink does not only protect; it also boosts your kitchen’s look and performance. Fresh caulk gives your sink a clean, finished appearance. It also:
| Appearance Benefit | Functionality Advantage |
|---|---|
| Provides a smooth, neat edge | Seals out debris and food particles |
| Matches the sink or countertop color | Maintains the integrity of sink fixtures |
Credit: medium.com
Gathering Your Tools: Essential Items For A Caulking Project
Before starting your kitchen sink caulking task, it’s crucial to have the right supplies. A successful caulking project hinges on choosing the right caulk and tools. This guide will set the stage for a smooth and durable finish, detailing everything needed from the best caulk types to the must-have application tools.
Choosing The Right Caulk: Types And Brands
Selecting the correct caulk ensures a waterproof seal that lasts. Use a silicone-based caulk for its flexibility and water resistance. Key options include:
- 100% Silicone Caulk: Ideal for wet areas; doesn’t shrink or crack over time.
- Silicone-Acrylic Caulk: Easier to handle and clean; suitable for non-porous surfaces.
- Adhesive Caulk: Adds an extra bonding strength; perfect for heavy wear areas.
Brand-wise, look for reputable names like GE, DAP, and Gorilla for trusted quality.
Must-have Tools For Applying And Smoothing Caulk
To apply caulk like a pro, ensure you gather these tools:
| Tool | Use |
|---|---|
| Caulking Gun | Applies steady pressure on the caulk tube for a smooth bead |
| Utility Knife | Cuts the caulk tube tip and old caulk removal |
| Caulk Tool or Spoons | Smoothens the caulk bead for a professional finish |
| Painter’s Tape | Guards against errors, creates straight lines |
| Cloth | Clean surface prep and clean-up tool |
A caulking project can be straightforward and satisfying with the right materials and tools in hand. Start with a complete toolkit to ensure the best outcome for your kitchen sink.
Preparing The Battlefield: Pre-caulking Steps
Kitchen sinks see a lot of action. Over time, caulking wears and gets dirty. Fresh caulk will not only make your sink look new. It also prevents water damage. Before the caulk tube comes out, get the area ready. This is your battle plan for a water-tight seal.
Cleaning And Drying: Ensuring Adhesion
Old caulk and grime will sabotage your re-caulking mission. A clean, dry surface is crucial for the new caulk to stick properly. Follow these steps:
- Scrape away old caulk with a putty knife or caulk remover tool.
- Clean the surface with a mix of warm water and mild soap.
- Rinse the area and wipe with a clean cloth.
- Dry completely with a towel or let it air dry.
Tip: For stubborn spots, use rubbing alcohol or a dedicated cleaner. But ensure the area is fully dry before proceeding.
Tape Borders: Setting Boundaries For Precision
Tape guides your caulk line for a clean, straight edge. Here’s how to tape like a pro:
- Cut small pieces of painter’s tape.
- Place them on both sides of the sink edge, leaving the gap you want to caulk exposed.
- Press down firmly on the tape. This prevents the caulk from sneaking underneath.
Remember: The gap between the tape lines is where you’ll apply the caulk. Ensure it is even all around the sink for a uniform look.
Execution Of Caulking: Techniques For A Perfect Seal
A firm seal around your kitchen sink prevents water damage and keeps the area looking neat. The key to a perfect seal lies in both the application technique and finishing touches. Let’s dive into the secrets behind executing a flawless caulk job that looks professionally done.
Angle And Pressure: Secrets To A Smooth Bead
Applying caulk with the right angle and pressure ensures a smooth, even bead. Here’s how:
- Cut the tip of your caulk tube at a 45-degree angle.
- Hold the tube at this angle while applying the caulk.
- Gently squeeze the trigger with consistent pressure.
- Move the tube smoothly along the seam.
Tooling The Caulk: Finishing Touches For A Professional Look
After laying down the bead, it’s time for tooling:
- Wet your finger or a caulk tool with soapy water.
- Glide along the bead, pressing it into the gap.
- Remove excess caulk for a clean line.
- Wipe up any residue immediately.
Remember, practice makes perfect. Follow these steps to achieve a seal that’s not only functional but visually impeccable.
Maintenance And Upkeep: Ensuring Longevity Of Caulk Around Your Sink
Keeping the caulk around your kitchen sink in top condition is crucial. Proper maintenance ensures it continues to protect against water damage and maintain a clean, attractive appearance. A caulk’s life span varies, but with the right care, you can maximize its effectiveness and longevity.
Regular Checks And Touch-ups
- Inspect the caulk regularly for signs of wear and tear.
- Look out for small holes or cracks that can let in water.
- Clean the surface before applying new caulk for the best adherence.
- Use a matching caulk to fill any minor imperfections promptly.
To maintain an immaculate seal, routine checks should be part of your regular kitchen cleaning schedule. Minor touch-ups can be done easily with the right caulk type for your sink.
When To Replace: Signs It’s Time For New Caulk
Understanding when to replace old caulk is key to ongoing sink maintenance. Here are tell-tale signs:
| Signs of Wear | Action Required |
|---|---|
| Discoloration or staining | Remove old caulk and reapply new |
| Shrinking or pulling away from the sink | Thoroughly remove and replace old caulk |
| Mold or mildew growth | Clean area and replace with mold-resistant caulk |
| Solid pieces have turned soft or gooey | Scrape away and replace with fresh caulk |
Don’t wait too long to address these issues. Timely replacement can prevent costly repairs and maintain the integrity of your kitchen sink.
Credit: www.myengineeringsupport.com
Frequently Asked Questions On How To Caulk Around A Kitchen Sink
What Is The Purpose Of Caulking A Sink?
Caulking around a sink helps prevent water from seeping into the cabinetry, protecting against water damage and mold growth.
How Do I Remove Old Caulk From My Sink?
To remove old caulk, gently scrape it with a caulk removal tool or utility knife, then clean the area with a suitable solvent.
What Tools Are Needed For Caulking A Kitchen Sink?
You’ll need a caulk gun, silicone caulk, a utility knife, and a smoothing tool or a damp cloth for finishing the bead.
Can I Use Any Caulk For My Kitchen Sink?
Use a waterproof, mold-resistant silicone caulk specifically designed for kitchens and bathrooms for best results.
How Do I Ensure A Smooth Caulk Finish?
Apply the caulk in a steady stream, then smooth it with a wet finger or smoothing tool, and wipe away excess for a neat finish.
Conclusion
Putting a fresh bead of caulk around your kitchen sink revitalizes its appearance and protects against water damage. With clear, step-by-step guidance, you’re equipped to tackle this DIY project confidently. Remember: choose the right caulk, take your time, and smooth evenly.
Your kitchen sink’s new seal promises both function and style!


Leave a Reply